How Can We Help?
How To Create Backups On Wasabi
It is so important to have your data all backed up in case your site gets hacked or it is corrupted. You should also have your data all backed incase your server is corrupted or you delete it by mistake. For this purpose, CloudPages launched its newest feature “BACKUPS”, in which you can easily backup your sites and your data is safe in case you ever need it.
In order to create backups on Wasabi, you should have an account on Wasabi, since you need an access key and a secret key from here.
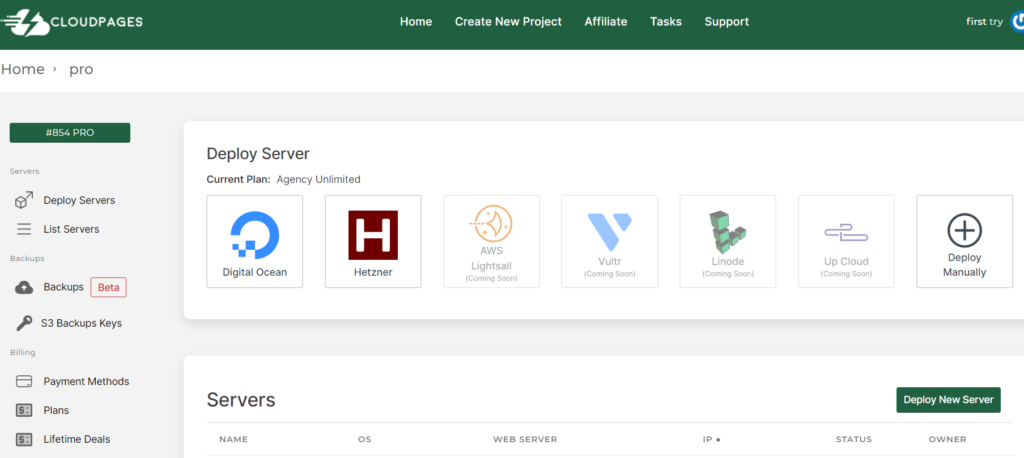
Step 1: Open Project dashboard
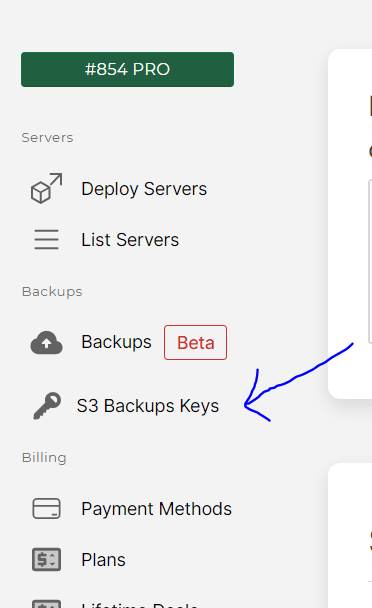
Step 2: Click on “S3 backup Keys” from the left hand side menu
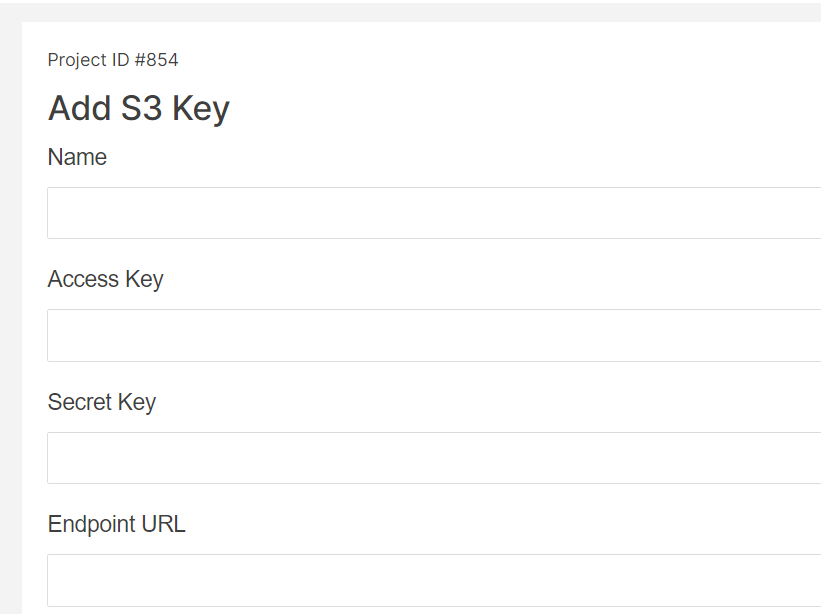
Step 3: Add Name, Access key, Secret Key and EndPoint URL
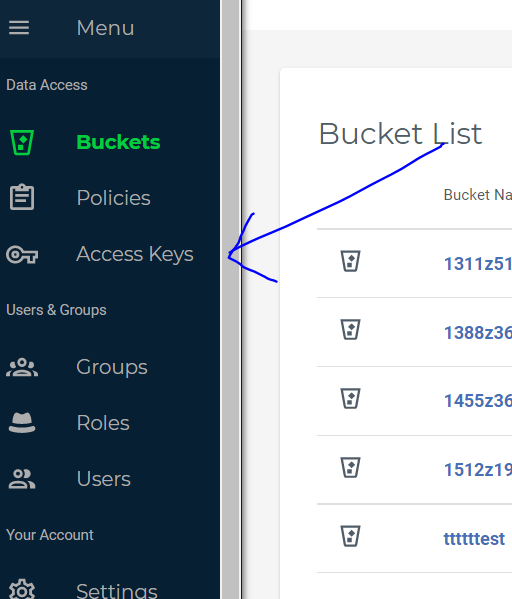
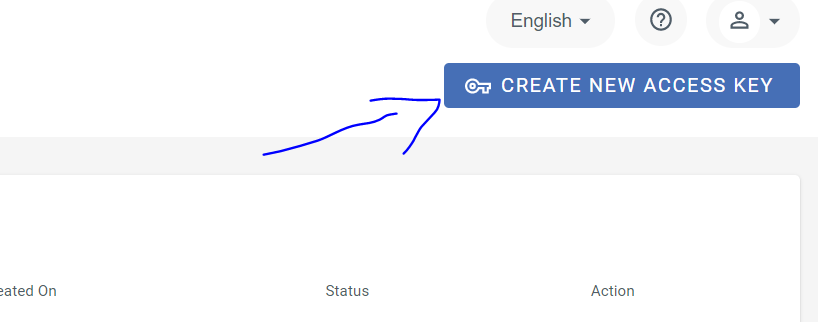
Step 4: To get Access key and Secret key, go to Wasabi and Click on Access keys from the left hand side menu
Step 5: Click on “Create new Access key”
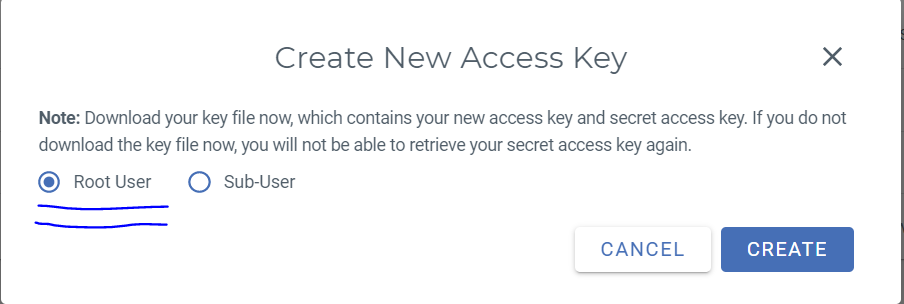
Step 6: Click on “Root Users” and then “Create”
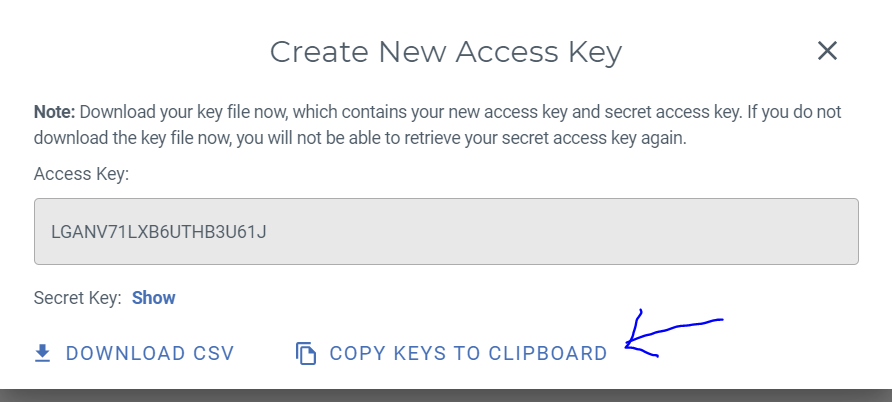
Step 7: Click on “Copy keys to clipboard”
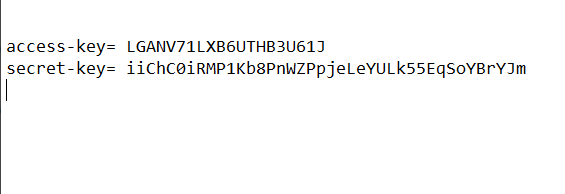
Step 8: Paste it in notepad
Step 9: Add the two keys in Cloudpages along with Key name
Endpoint URL which is https://s3.wasabisys.com
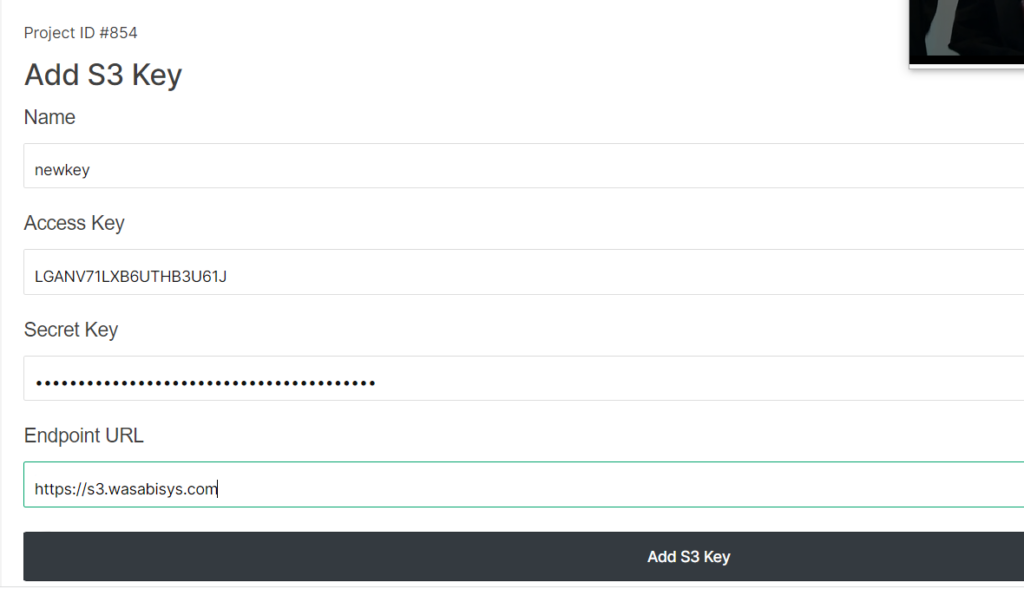
Step 10: Your new key is added

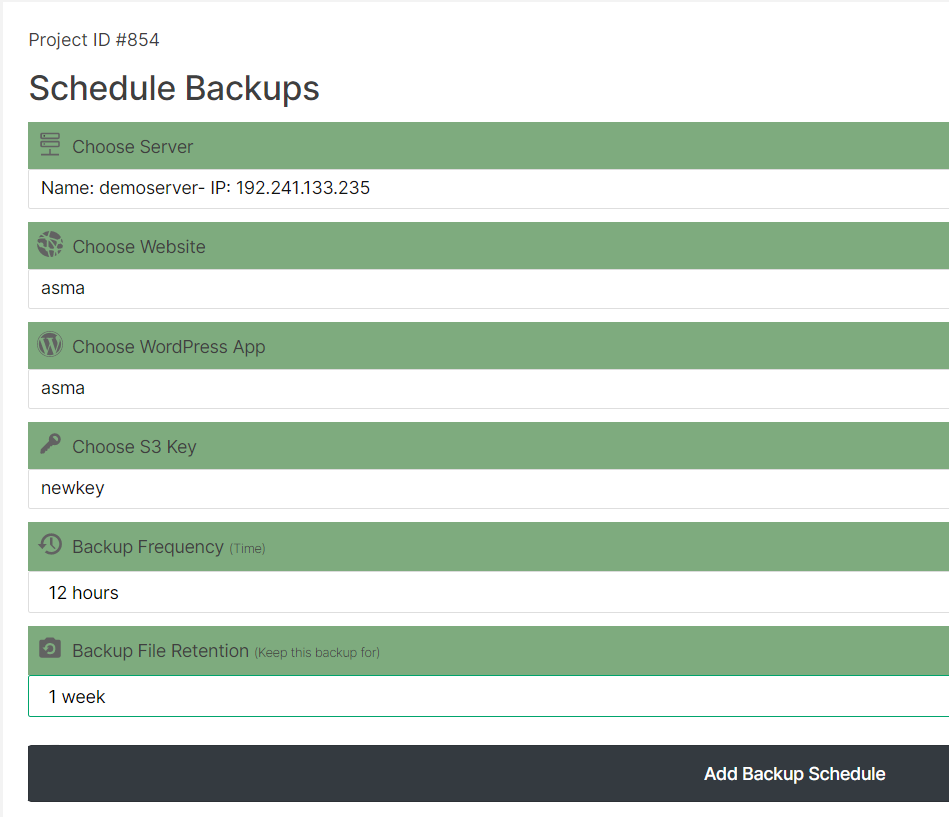
Step 11: Click on Backups from left hand side menu

Step 12: Add all the information in the Schedule Backup Form and click on “Add Backup Schedule”
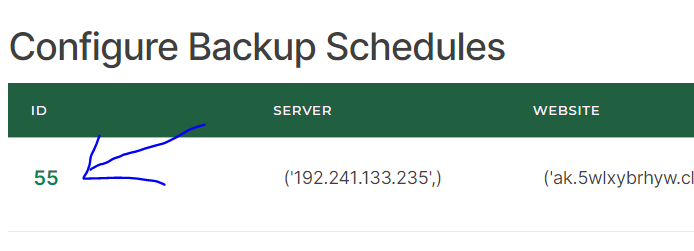
Step 13: your new backup file is added

Step 14: Click on the file ID
Step 15: This will be your Backup Schedule Details
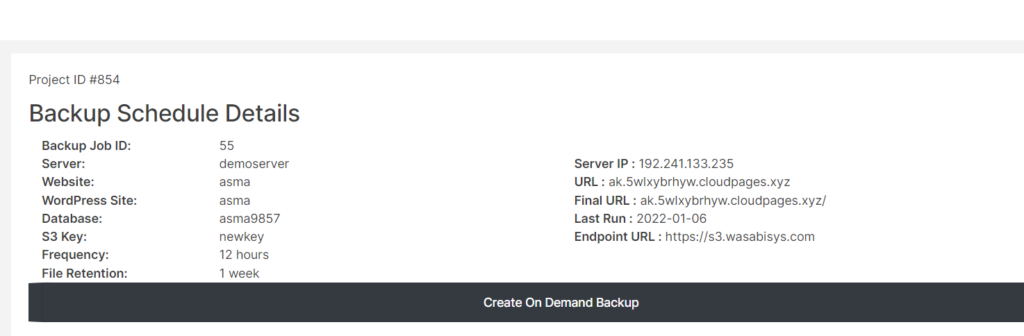
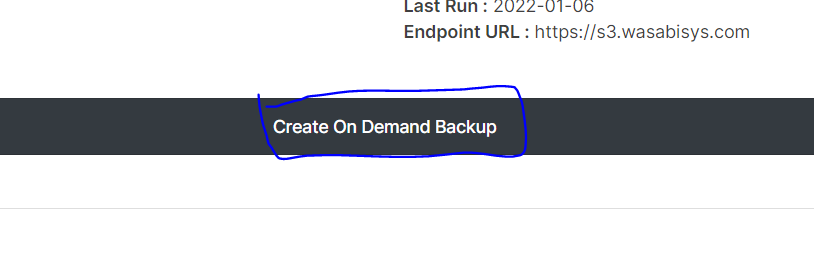
Step 16: Click on “Create On Demand Backup” to create an instant backup rather than waiting for the automated backup to happen
Step 17: Your backup file is created
