3 – Deploy WordPress on CloudPages
In this document, we’ll show you how to Deploy the WordPress site from CloudPages.
1 – Deploy WordPress
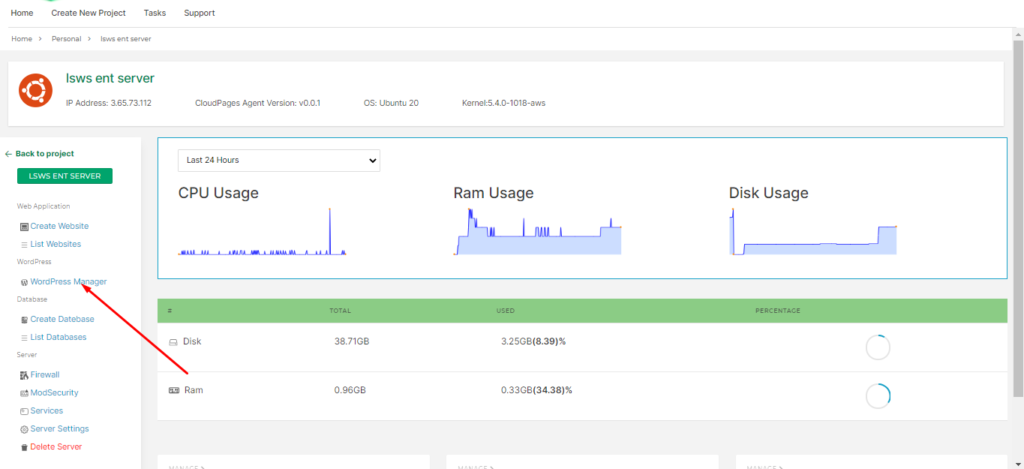
On the home page (dashboard) of the server, there is a WordPress Manager button to deploy the WordPress site using CloudPages. Press that button to deploy a WordPress site on your server.
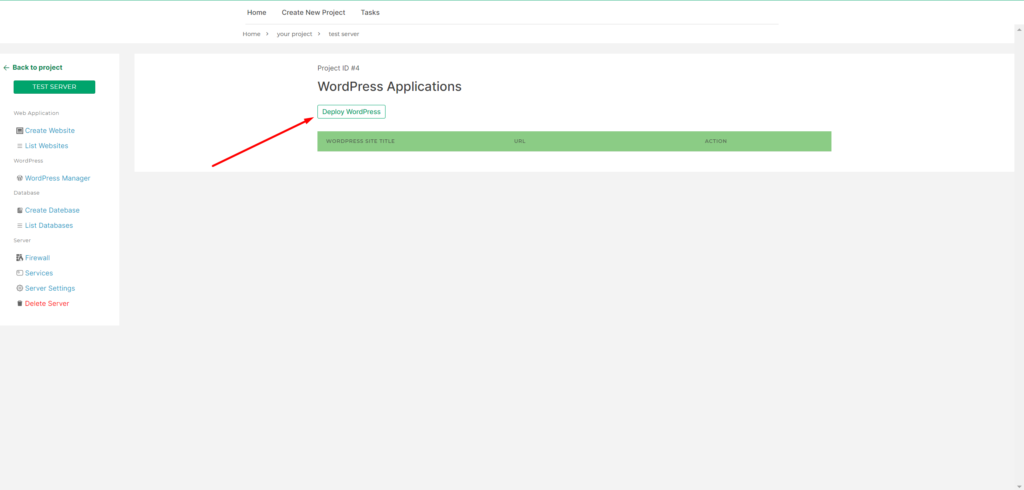
After clicking this button, you can see the following screen. Click on the Deploy WordPress button from this screen to create a new WordPress site.
2 – Installation Configurations
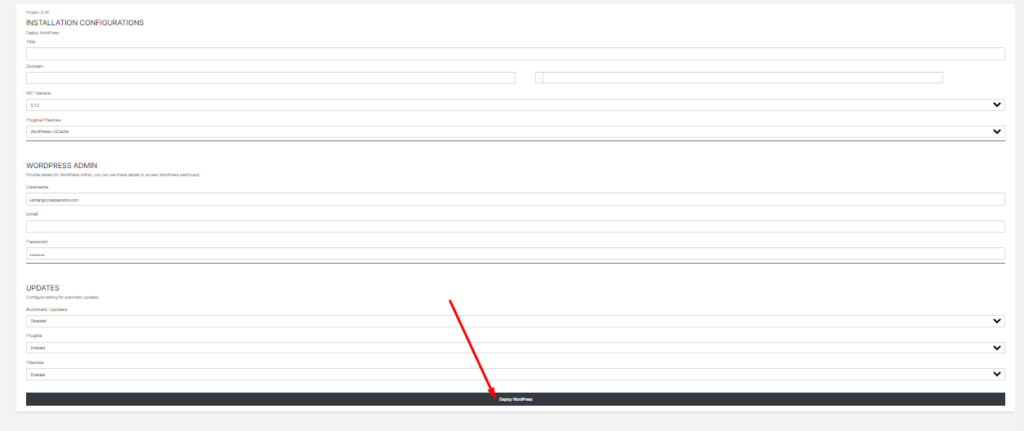
Now move towards configurations of your WordPress site. For configurations, you need to provide the following details.
2.1 INSTALLATION CONFIGURATIONS:
Title: Provide the title of a blog according to your choice.
Domain: Type the Domain name on which you want to install the WordPress site.
WP Version: Select the WordPress version (any stable or latest).
Plugins/Themes: Chose any option with which plugin you want to install WordPress.
- WordPress + LS Cache.
- WordPress + LS Cache + Classical Editor.
- WordPress + LS Cache + Woocommerce
2.2 WORDPRESS ADMIN:
Username: Type the username that you will use to log in to WP Admin.
Email: Typer the email that you want to use for login users.
Password: Type the password that you will use to log in to WP Admin.
2.3 UPDATES:
Automatic Updates: You can enable or disable automatic Updates (All Updates).
Plugins: You can enable or disable automatic Updates of Plugins.
Themes: You can enable or disable automatic updates of Themes.
After providing all details click on Deploy WordPress Button.
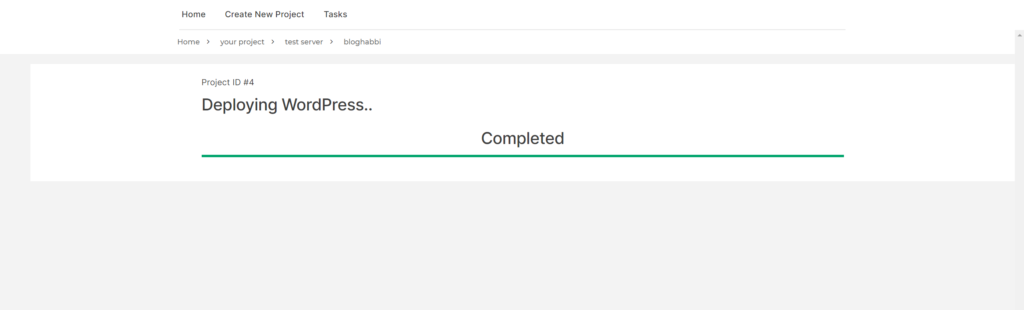
3 – Deployed
After clicking on that button the process of deploying WordPress starts.
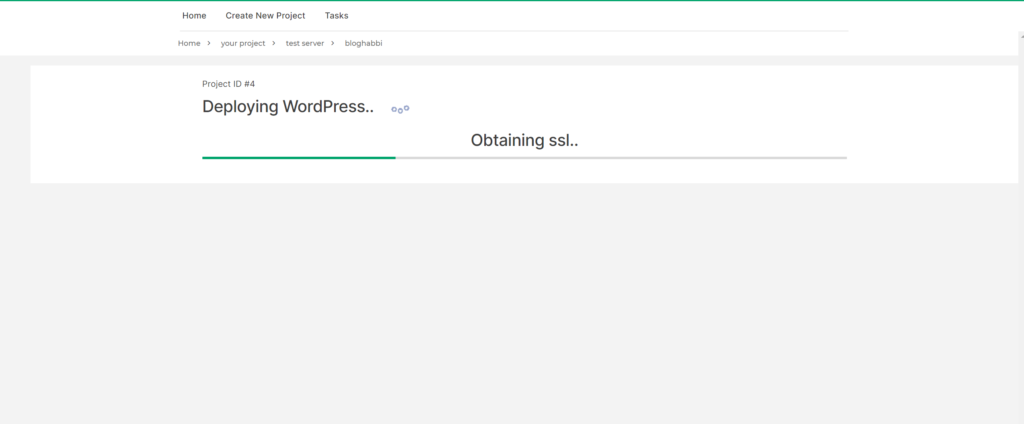
After some time you can see that the process is completed and WordPress is configured on your server.
After all processes, you will automatically go to this page
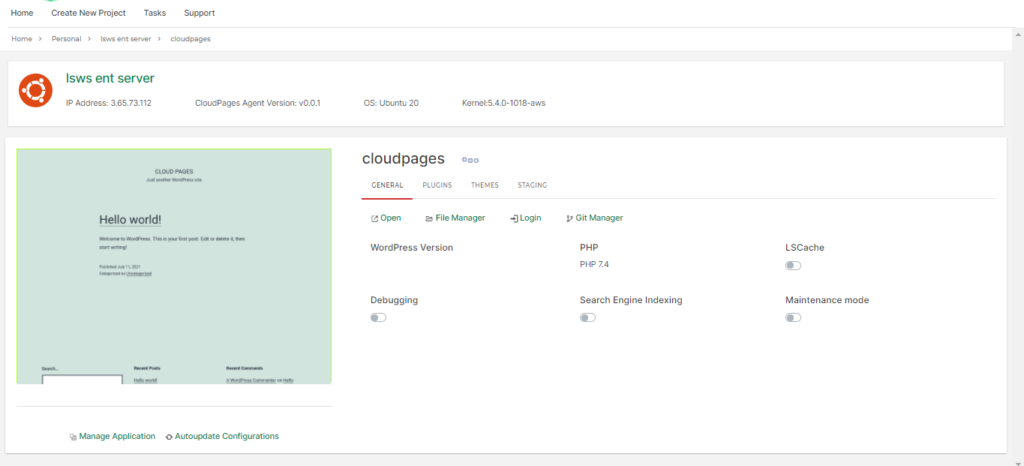
Here you can see all information according to which to set up the WordPress site.