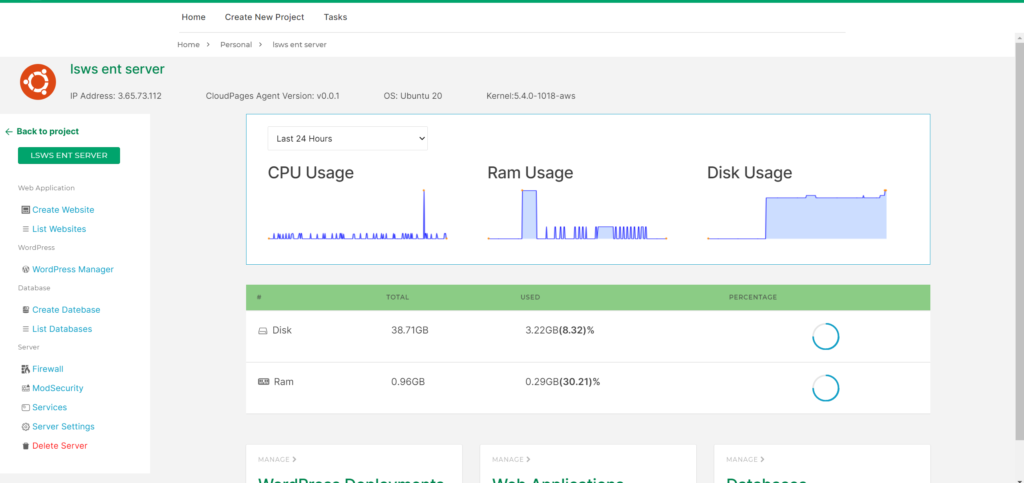
2 – Deploy Server
Before deploying a server you need to create a project. Read our project guide to create a project.
1 – Chose Project
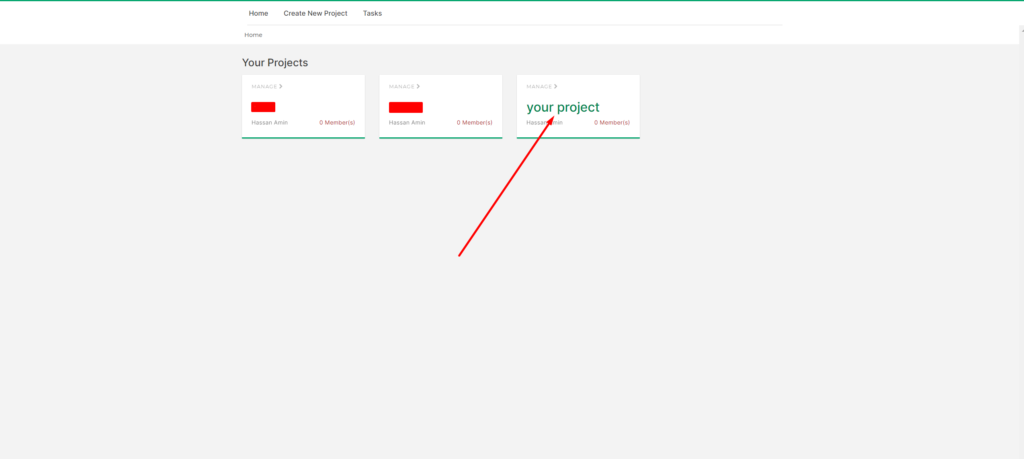
On the Dashboard page, select the project on which you want to deploy the server.
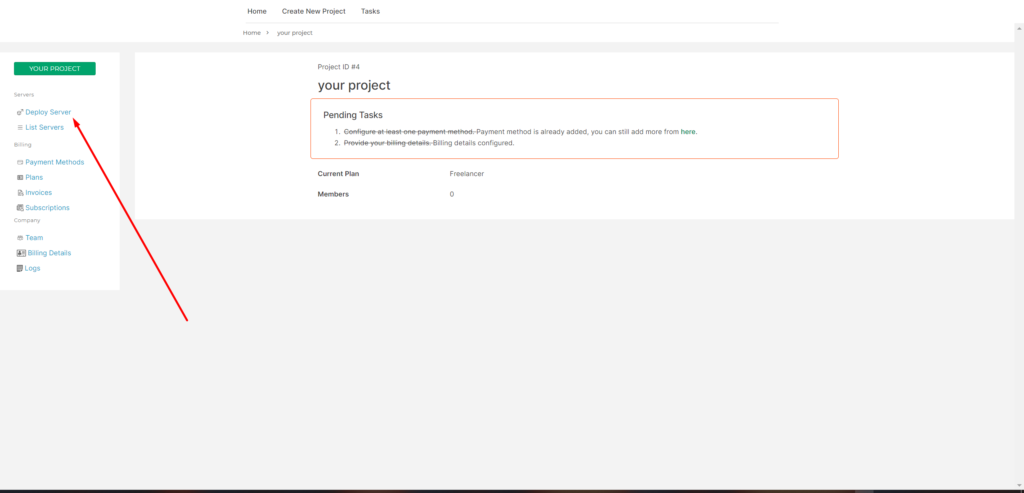
Then Click on Deploy Server on the sidebar.
2 – Deploy Server
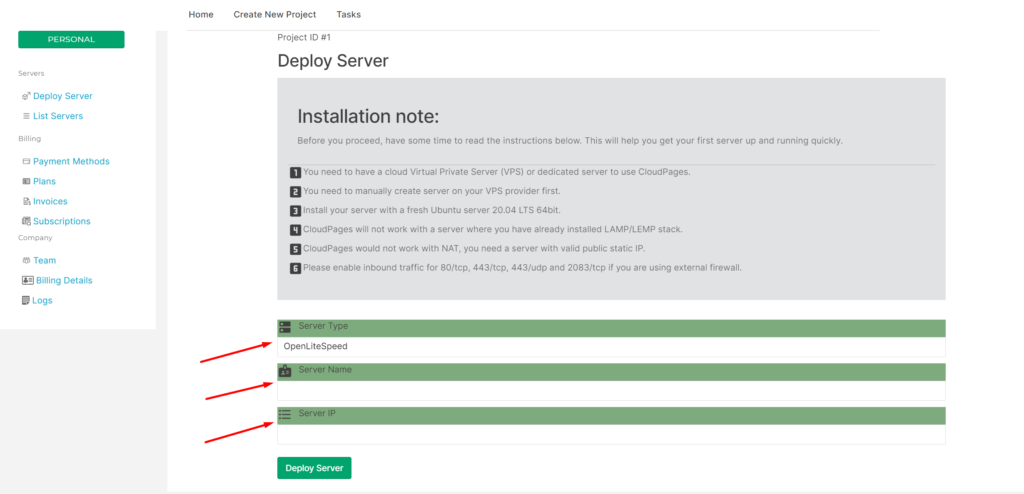
Once you open the deploy server page you can see these 3 input boxes, provide the required data and click on Deploy Server. You can also deploy CloudPages automatically using our provider integration:
Or you can install manually using the guide below
- Chose server type if you have LiteSpeed Enterprise license then chose that one otherwise chose OpenLiteSpeed
- Provide your server name anything you want.
- Provide Your server IP, this should be a valid public static IP.
After this, you are in the installation process.
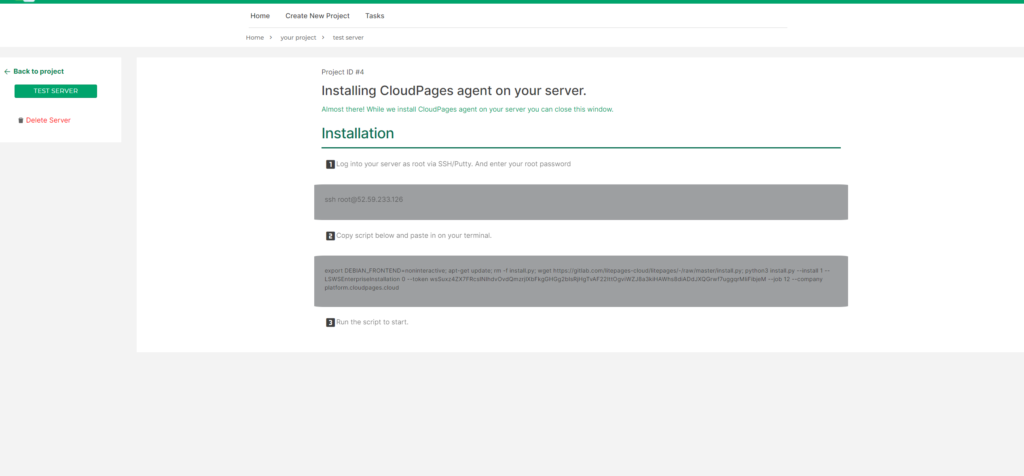
3 – Install on Root SSH
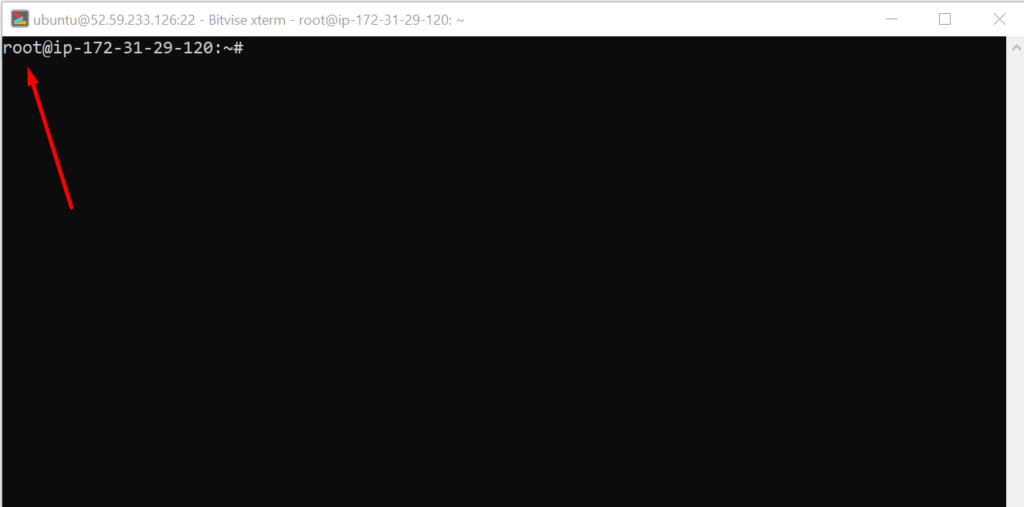
Log in to your server SSH. On which you want to deploy the server. Must be logged as root.
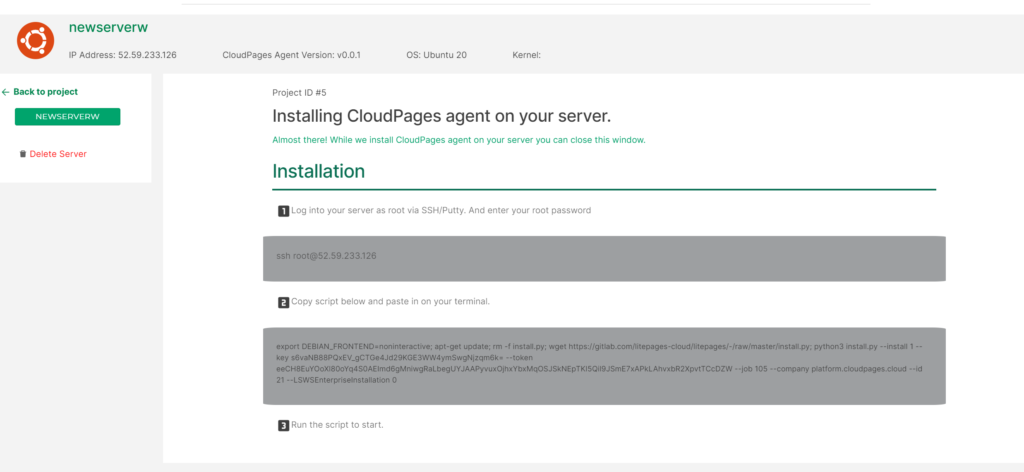
Then copy and paste this command into the terminal
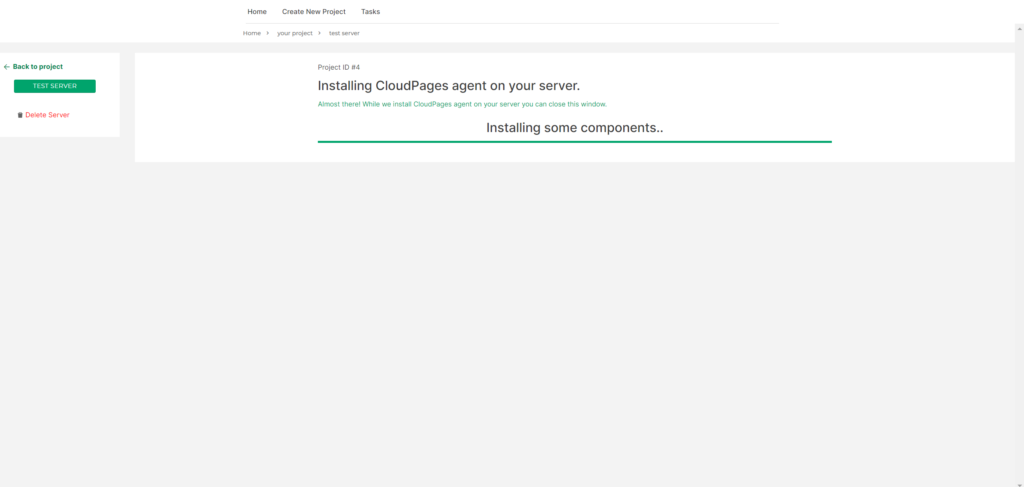
Once you have pasted and ram the command on the terminal, the following installation process will be started in your browser.
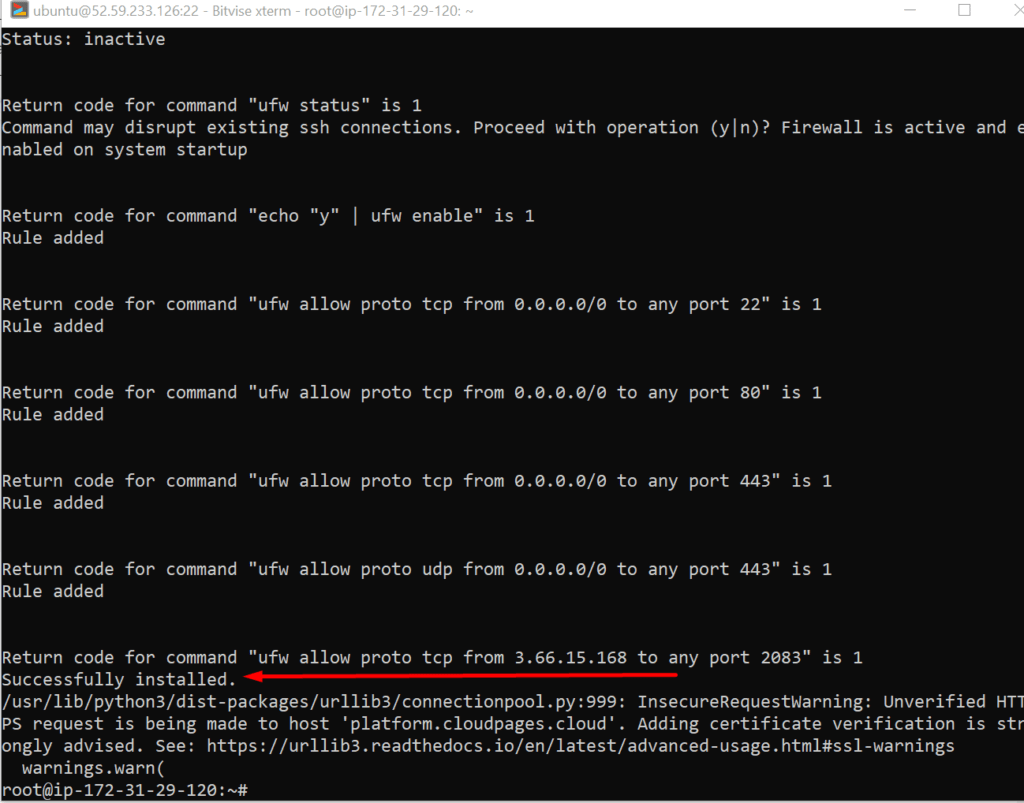
After some time you can see CloudPages agent is successfully installed on your server.
4 – Server Dashboard
Once your deployment is done you will be redirected to the server dashboard.
