On CloudPages you will use SFTP to upload files to your web application. Now, while installing your server if you have chosen key-based authentication then your cloud provider will usually disable password-based authentication.
So, If you have set a password for SFTP users you won’t be able to access it through the FileZilla client with a password (if password authentication is disabled).
Use this guide to enable SSH password authentication.
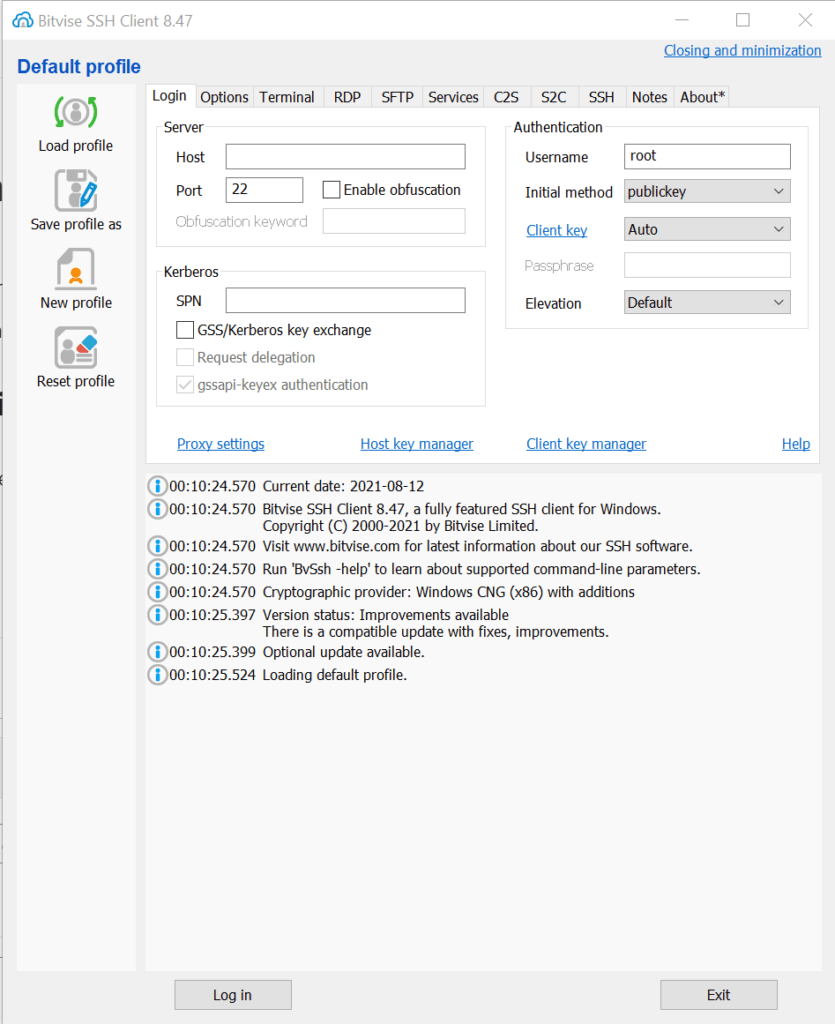
Step-1: Login as root in SSH client
To enable password authentication first you have to log in as a root user in your SSH client, I am using Bitvise ssh client, provide the required credentials, and log in (you will have to use key-based login here because password authentication is disabled).
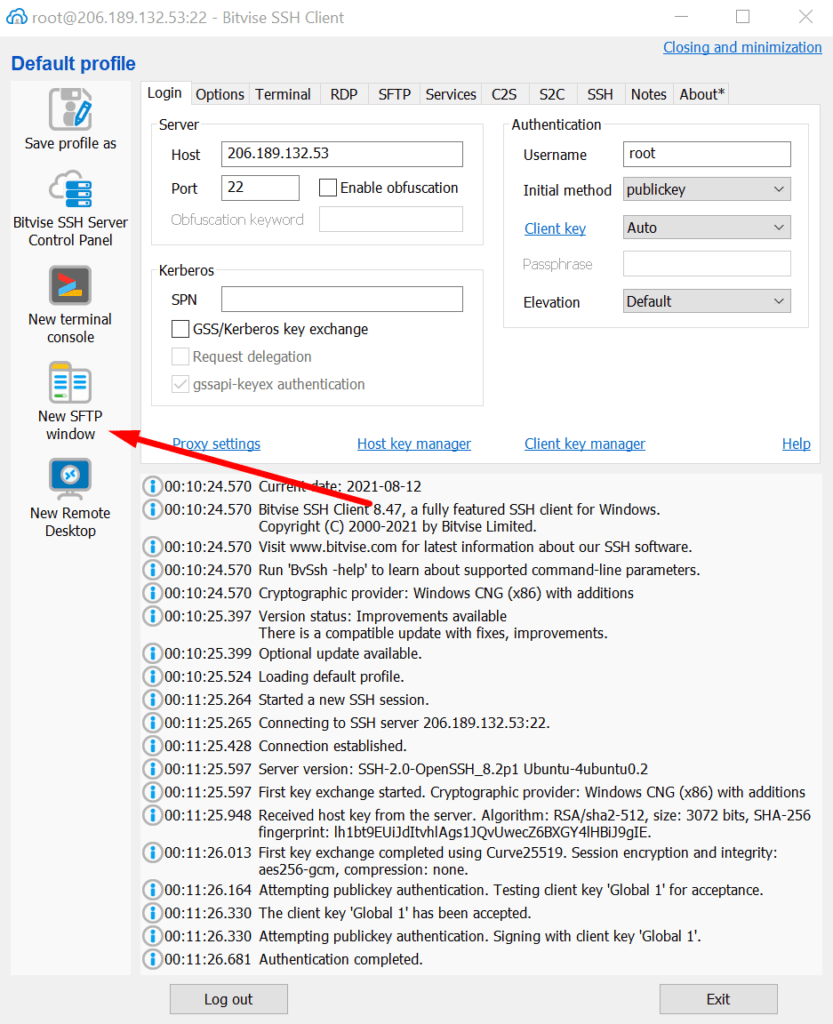
Once you have logged in successfully, you can see the terminal and new SFTP window icons in the sidebar. You can enable password authentication through the terminal as well as the SFTP window. In this guide, I will show you how to enable password authentication via the SFTP window. So click on the New SFTP window.
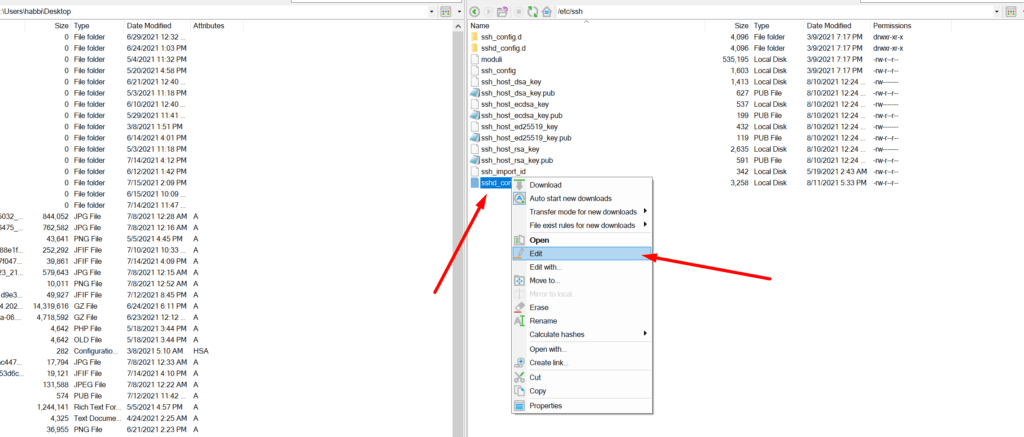
Once you click on the New SFTP window you can see that a new window appears on your screen. On the Remote files section type the path of a directory where the configuration for SSH resides, usually it is /etc/ssh on Linux based servers.

Step-2: Enable the Password Authentication
Inside /etc/ssh you have to open sshd_config file, right-click on it and click edit.
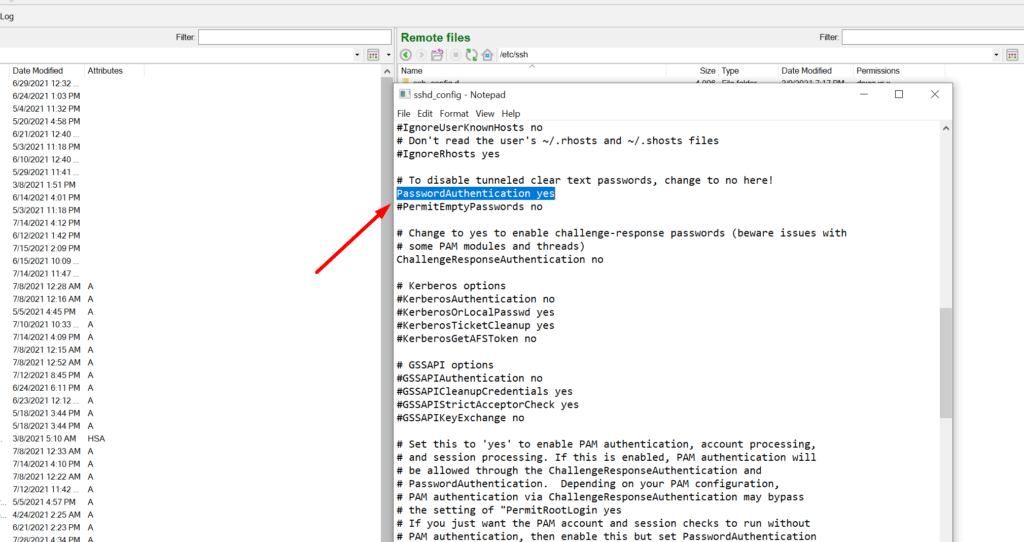
You can see that the editor is opened:
Find the following line
PasswordAuthentication no
and change it to
PasswordAuthentication yes
Step-3: Restart SSH Service
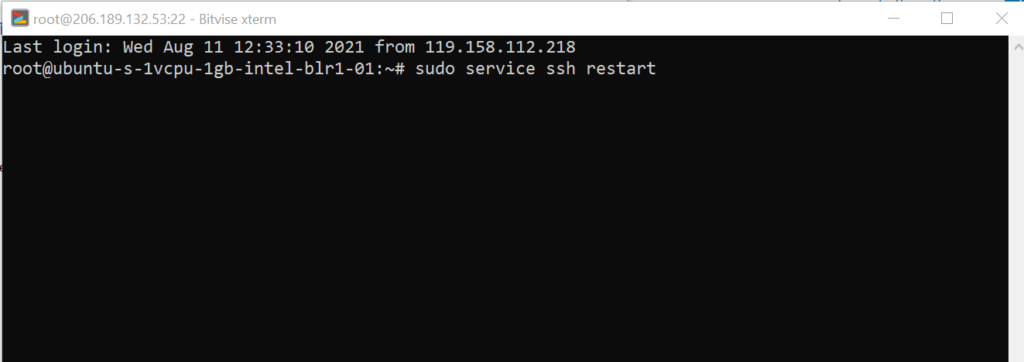
Once done, you should restart the ssh service. Goto bitwise client and open your terminal as root and run this command:
systemctl restart sshd
You have successfully enabled password-based authentication for SSH after following the steps above.
If you have any questions, feel free to ask in the comments box below.


