

In the dynamic landscape of web development, optimizing the performance of your WordPress site is crucial for delivering a seamless user experience. One key aspect of this optimization is the efficient handling of static assets, such as images, stylesheets, and JavaScript files. By implementing a robust cache policy for these assets, you can significantly reduce page load times and enhance overall website performance. Here we learn How to Serve Server Static Assets with an Efficient Cache Policy WordPress.
Table of Contents
Serve Server Static Assets with an Efficient Cache Policy WordPress:
Understanding Static Assets
Static assets are files that remain unchanged during runtime and are served directly to the user’s browser. Examples include images (JPEG, PNG, GIF), stylesheets (CSS), and JavaScript files. Unlike dynamic content generated on the fly by the server, static assets can be cached by browsers, enabling faster loading for subsequent visits.
Importance of Caching
Caching involves storing copies of static assets closer to the end-user, either in their browsers or on intermediary servers, reducing the need to repeatedly download the same resources. An efficient cache policy ensures that these assets are served quickly without unnecessary requests to the server, resulting in a faster and more responsive website.
Implementing an efficient cache policy for serving static assets in WordPress is a crucial strategy for optimizing website performance. Focused primarily on files that remain unchanged during runtime—such as images, stylesheets, and JavaScript—this approach provides a range of benefits that significantly contribute to a smoother user experience.
- Reducing Bandwidth Usage
By caching static assets, the amount of data transferred between the server and the visitor’s device is minimized. As these cached assets are loaded from local storage, visitors with limited internet plans can save on data usage. This not only benefits users but also contributes to a more cost-effective and efficient use of bandwidth resources. - Decreasing Server Load
Cached assets play a crucial role in reducing the load on your server. When browsers utilize locally stored assets, the server receives fewer requests for these files. This reduction in requests translates to a lighter workload for the server, especially during periods of high traffic. As a result, the risk of server overloads is mitigated, ensuring consistent and reliable performance even in peak usage scenarios. - Enabling Partial Offline Browsing
Caching static assets can extend the website’s accessibility, even in offline scenarios. When visitors have previously loaded and cached necessary files, certain parts of the website can be accessed without an active internet connection. This feature enhances user experience by allowing them to browse cached content seamlessly, even in situations where a reliable internet connection is temporarily unavailable.
In essence, the strategic caching of static assets empowers web developers and administrators to make better use of server resources while simultaneously enhancing the overall browsing experience for visitors. This optimization process revolves around instructing the server on which assets to prompt browsers to cache, laying the foundation for improved bandwidth efficiency, reduced server load, and the potential for partial offline browsing capabilities.
Checking Browser Caching Using Developer Tools
Ensuring that browser caching is effectively implemented on your website is crucial for optimizing performance. Fortunately, you don’t need to be a seasoned developer to verify whether your site is leveraging caching. Using the developer tools available in popular browsers like Google Chrome and Firefox, you can easily inspect the relevant code and assess the caching status.
Checking in Google Chrome
- Visit the Website
Open Google Chrome and navigate to the website you want to inspect for browser caching.
- Access Developer Tools
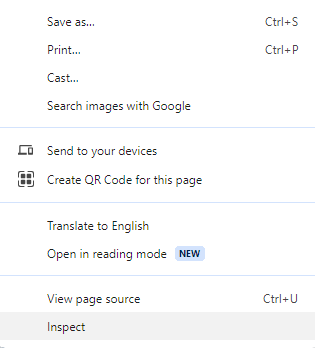
Right-click anywhere on the page, and from the context menu, select the “Inspect” option. Alternatively, you can pressCtrl + Shift + I(Windows/Linux) orCmd + Option + I(Mac) to open the developer tools. - Navigate to the Network Tab
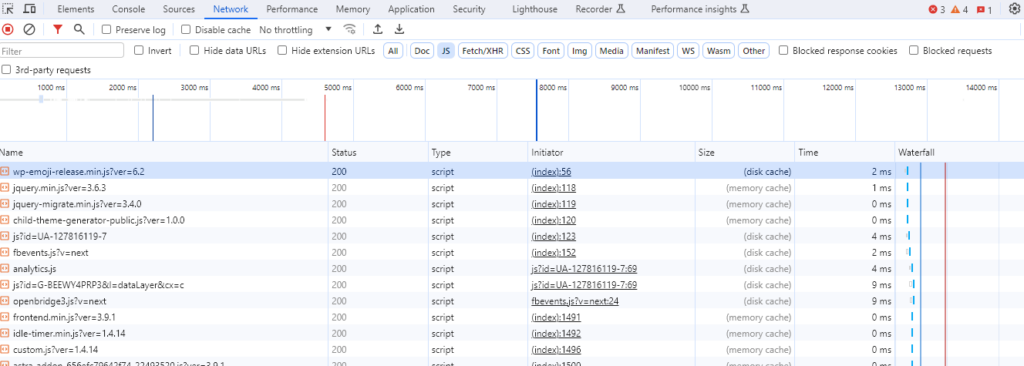
Within the Developer Tools, navigate to the “Network” tab. This section displays information about network activity, including the loading of assets and resources.
- Reload the Page
Reload the page by either clicking the refresh icon or usingCtrl + R(Windows/Linux) orCmd + R(Mac). - Analyze Network Requests
As the page reloads, you’ll see a list of network requests. Look for static assets such as images, stylesheets, and scripts. - Check Response Headers
Click on an asset, and in the right panel, go to the “Headers” tab. Look for the “Cache-Control” or “Expires” headers.
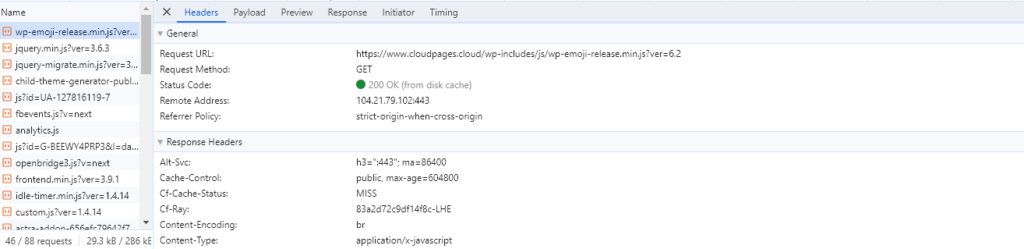
When inspecting a website for caching implementation, specific HTTP headers play a crucial role in providing insights into how caching is configured. Here are some key headers to look for and what they signify:
1. Cache-Control
- Purpose: Specifies caching directives for a particular resource.
- Common Directives:
max-age: Defines the maximum time a resource is considered fresh, indicating how long it can be cached without revalidation.no-cache: Forces caches to submit the request to the origin server for validation before releasing a cached copy.
Example
Cache-Control: max-age=3600, public
2. Expires
- Purpose: Provides an expiration date and time for the resource.
- Functionality:
- After the specified expiration time, the resource is considered stale, prompting the browser to revalidate it with the server.
Example
Expires: Thu, 31 Dec 2023 23:59:59 GMT
3. ETag (Entity Tag)
- Purpose: Serves as an identifier for a specific version of a resource.
- Functionality:
- Changes whenever the resource is modified, allowing browsers to determine if a cached resource is still valid.
Example
ETag: "1a2b3c4d5e6f7"
4. Last-Modified
- Purpose: Indicates the last modification date of the resource.
- Functionality:
- Browsers use this information to validate if their cached version is still up-to-date.
Example
Last-Modified: Mon, 01 Jan 2023 12:00:00 GMT
Understanding these caching headers provides valuable insights into the caching strategy employed by a website. By examining Cache-Control directives, Expires timestamps, ETags, and Last-Modified dates, one can determine how often a resource should be revalidated or fetched anew. This knowledge is instrumental in optimizing website performance, reducing bandwidth usage, and enhancing the overall user experience. In essence, these headers are the cornerstone of an effective caching strategy, balancing freshness with the efficient utilization of cached resources.
Static Asset Caching with WordPress Plugins
Enhancing the cache policy for serving static assets in WordPress becomes a straightforward task with the use of caching plugins. These plugins streamline the process, ensuring that your website’s static resources are efficiently cached, leading to improved performance and faster load times. Below, we’ll walk through the steps for two popular caching plugins: Breeze and W3 Total Cache.
1. Breeze Plugin
Install the Breeze Plugin
- Navigate to your WordPress dashboard.
- Go to “Plugins” > “Add New.”
- Search for “Breeze” and click “Install Now.”
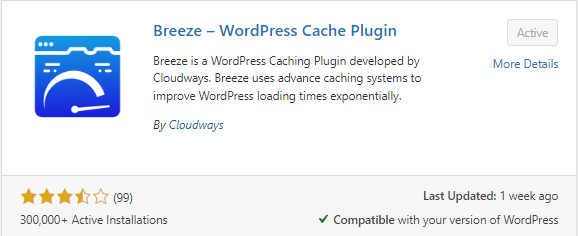
Activate the Plugin
Once installed, activate the Breeze plugin.
Enable Browser Caching
- Go to “Settings” in your WordPress dashboard.
- Under Breeze settings, find and click on “Browser Cache.”
- Enable browser caching by checking the corresponding box.
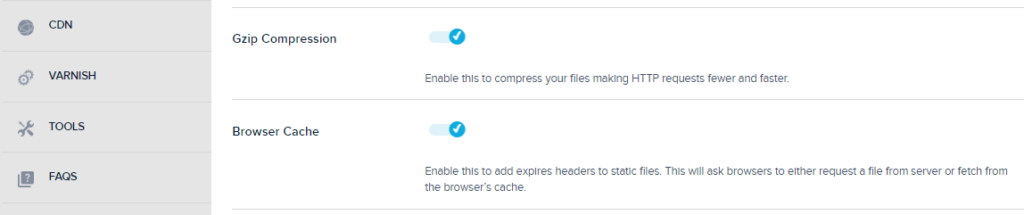
Save Changes
Save the changes, and the Breeze plugin will now handle browser caching for your static assets.
2. W3 Total Cache Plugin
Download and Activate
- From your WordPress dashboard, navigate to “Plugins” > “Add New.”
- Search for “W3 Total Cache” and install the plugin.
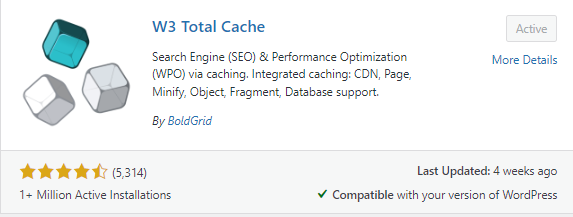
Activate the Plugin
Once installed, activate the W3 Total Cache plugin.
Access Browser Caching Settings
In your WordPress dashboard, go to “Performance” and find “Browser Cache.”
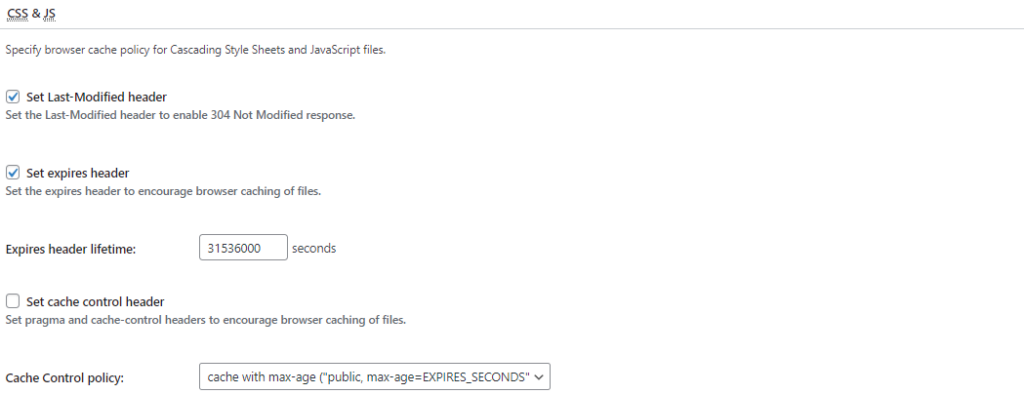
Configure Expiry Headers
- Under “General Settings,” locate “Browser Cache” and click on it.
- For each element (CSS & JS, HTML & XML), enable browser caching by ticking the “Set expires header” option.
- Set the expiry header lifetime to a desired value, such as 31536000 seconds for a year.
By following these steps for either the Breeze or W3 Total Cache plugin, you can effortlessly enhance the cache policy for serving static assets on your WordPress site. These plugins offer user-friendly interfaces, making it accessible for users with varying levels of technical expertise to optimize their website’s performance effectively.
Fine-Tuning Cloudflare Settings for Optimal Performance
Cloudflare is a powerful tool for optimizing website performance, but certain features may inadvertently impact load times. To address potential issues with static assets and ensure an efficient cache policy, it’s essential to disable specific Cloudflare features and configure page rules for optimized caching.
1. Disabling Cloudflare Features
Some Cloudflare features might contribute to increased pressure on your website, potentially affecting load times. Follow these steps to disable selected features:
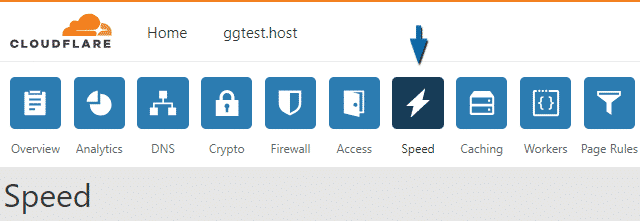
Access Cloudflare Dashboard
Log in to your Cloudflare account and navigate to the dashboard.
Go to the Speed Tab
Click on the “Speed” tab in your Cloudflare dashboard.
Toggle Rocket Loader:
- Within the Speed tab, you’ll find the Rocket Loader option.
- Toggle Rocket Loader on or off based on your specific needs.
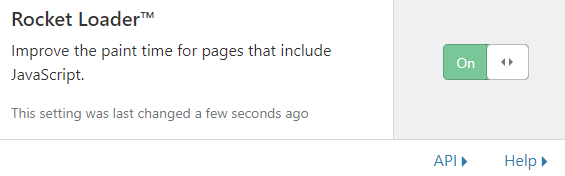
Disabling Rocket Loader can be beneficial in certain scenarios where its impact on static assets needs to be minimized.
2. Configuring Cloudflare Page Rules
Optimizing caching for different types of content is crucial for achieving an efficient cache policy. Utilize Cloudflare’s Page Rules to tailor caching rules to specific content types:
Access Page Rules Section:
In your Cloudflare dashboard, navigate to the “Page Rules” section.
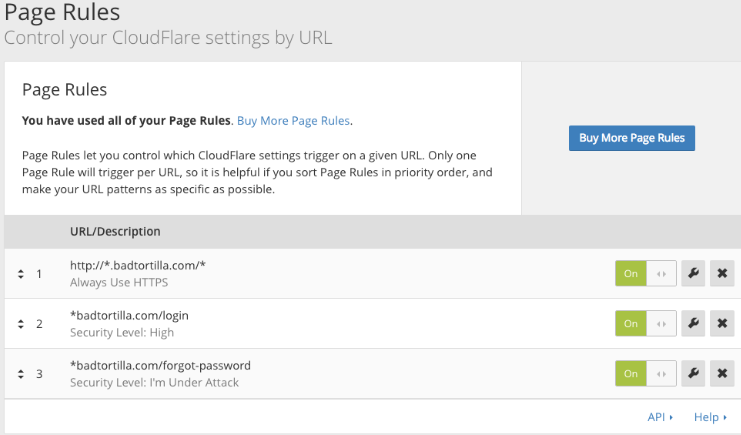
Define Rules for Caching:
Create specific rules for different types of content (e.g., images, CSS, JavaScript) to optimize caching based on your website’s needs.
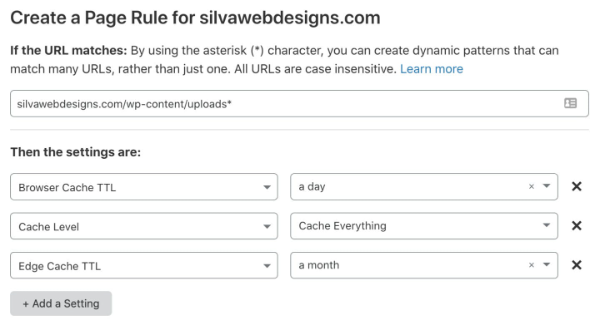
Example: Create a rule to cache all static assets with a longer expiration time to reduce server load and enhance user experience.
FAQs
Why is optimizing static assets and cache policy important for WordPress websites?
Optimizing static assets and cache policy is crucial for WordPress websites because it significantly improves page load times, user experience, and overall website performance. Efficient caching reduces server load, minimizes bandwidth usage, and ensures faster delivery of content to visitors.
What are static assets in the context of a WordPress website?
Static assets refer to files that remain unchanged during runtime, such as images, stylesheets (CSS), and JavaScript files. Optimizing the delivery of these assets through caching strategies ensures quicker loading times for visitors.
How can I check if browser caching is enabled on my WordPress site?
Use your browser’s developer tools to inspect the HTTP headers. Look for Cache-Control, Expires, ETag, or Last-Modified headers. These indicate whether caching is enabled and provide information on cache duration and validation.
What role does a Content Delivery Network (CDN) play in optimizing static assets?
A CDN distributes static assets across multiple servers globally, reducing latency and accelerating content delivery. It ensures that users receive content from the nearest server, optimizing load times and improving the overall user experience.
How can I configure Cloudflare for optimal cache policy on my WordPress site?
In your Cloudflare dashboard, access the “Caching” section and adjust settings such as Browser Cache TTL. Ensure your CDN respects the origin server cache headers. Additionally, configure Cloudflare Page Rules to fine-tune caching for specific content types.
Conclusion:
Implementing an efficient cache policy for static assets in WordPress is essential for improving website performance and user experience. By leveraging CDNs, enabling browser caching, and optimizing asset delivery, you can ensure that your site loads quickly and efficiently for visitors. Regularly monitoring and updating your cache policy will help you adapt to changes in content and maintain optimal performance over time. Remember that a well-optimized site not only enhances user satisfaction but also contributes to better search engine rankings.