Many people need to manage their emails as well as their sites. Like big agencies, small agencies, freelancers, and service providers, they all manage their email along with their websites. This article will show you how you can manage your business emails using Zoho Mail.
Email is an essential and important part of any business. Virtually all service providers manage their emails for their services. It is common for companies to use reputed and big email services like Gmail, Yahoo, Hotmail, etc.
In this article, we will tell you how you can set up a professional business email for your business like [email protected] or [email protected], etc.
Table of Contents
Thing needed to setup business email Zoho Mail:
- Domain Name
- Cloudflare For DNS
Cloudflare:
Cloudflare offers a lot of services such as DDOS protection, caching, DNS management, and much more. We only need the Cloudflare DNS manager in this article and for our setup. We will only discuss the Cloudflare DNS.
Domain Name:
In order to set up your email, you will need a domain name that you will use to create an email with Zoho.
How to manage DNS with Cloudflare?
Cloudflare’s DNS management is very easy and secure. We have a complete article on What is DNS? How to Manage your DNS with Cloudflare?.
You can follow the article given above to find out how to manage your DNS with Cloudflare. We also have a video for this in the article above, so please check that out as well.
Zoho:
A multinational technology company based in India, Zoho Corporation makes web-based business tools. The company’s most popular product is the Zoho online office suite. Founded in 1996 by Sridhar Vembu and Tony Thomas, the company has seven locations, with its global headquarters in Chennai, Tamil Nadu, India, and corporate headquarters in Pleasanton, California.
Zoho Setup:
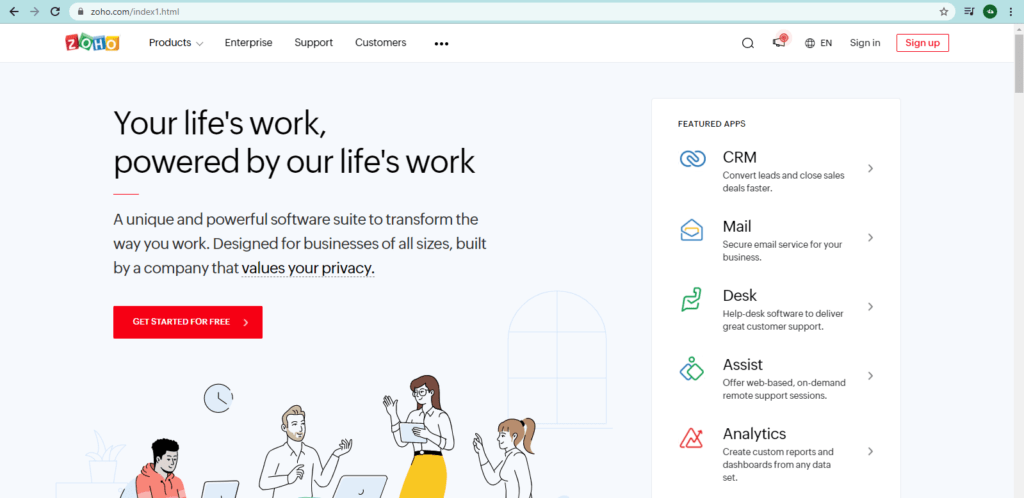
The actual process of setting up email has begun. The first thing you need to do is go to the official Zoho website here. Their services include CRM, Mail, Desk, Assist, Analytics, etc.
Based on this article’s concerns, we are interested in the email setup, so we will use the Mail option on their site.
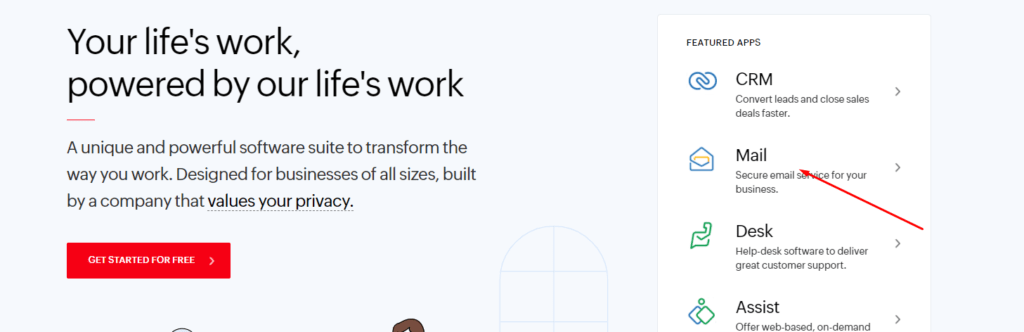
Zoho offers both paid and free email services. Let’s go to the home page for the email services of Zoho. To do this, just click on the Mail button in the last image and you can see the home page for this service.
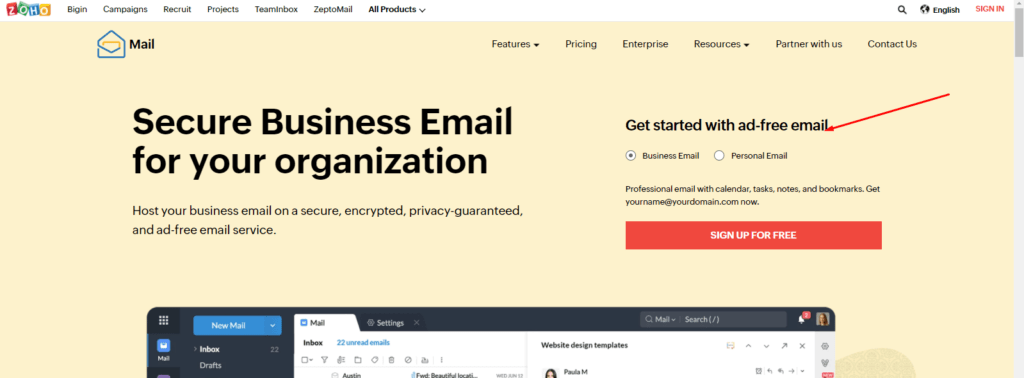
Here on the home page in the top bar, you can see the Pricing page if you click that you can see the different prices of the Zoho Mail services.
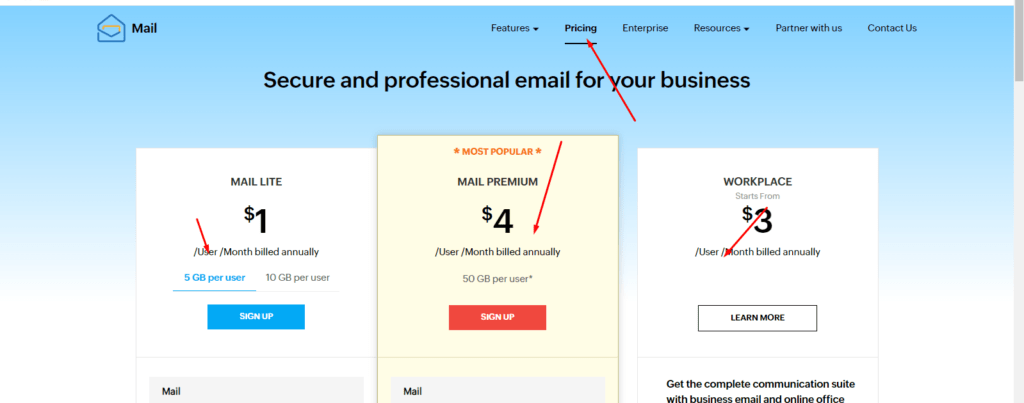
Besides these plans, Zoho also offers a forever free plan with 5 users and 5GB of space for each. This is more than enough for a new company. We will go with this plan as it serves our purpose well for this tutorial.
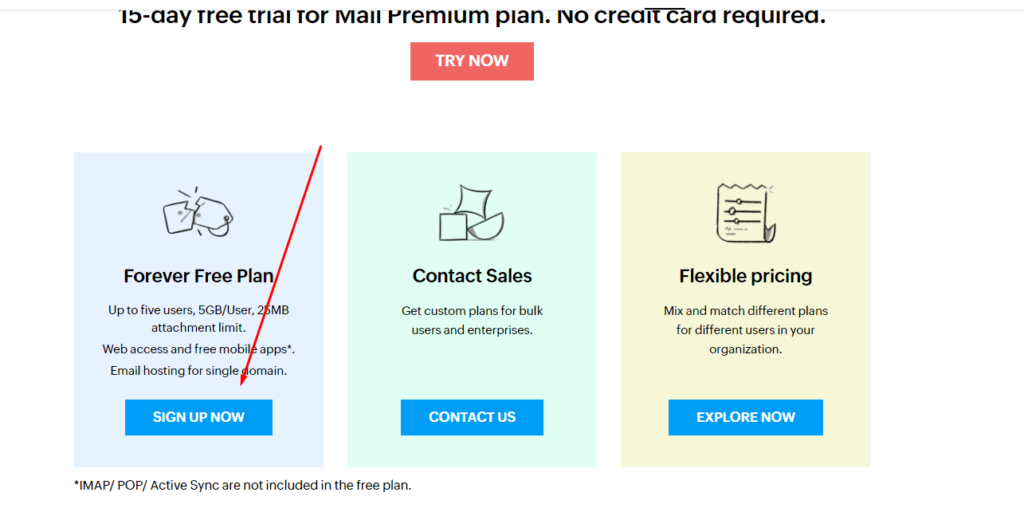
Upon clicking on the SING UP NOW button of this free plan. On the next screen, Zoho will ask you for your details to sign up.
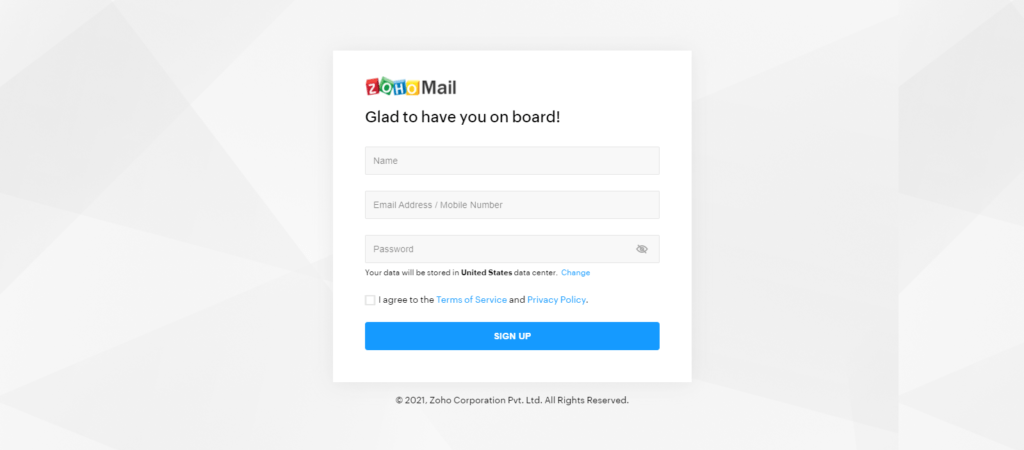
In order to sign up, you must provide your name, email, and password. Next, click the Sign-Up button.
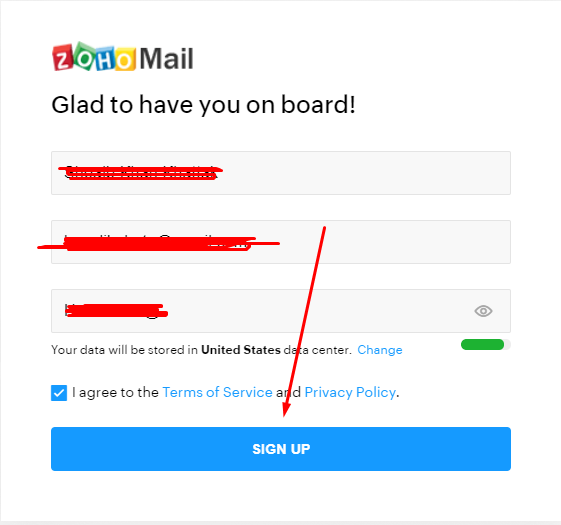
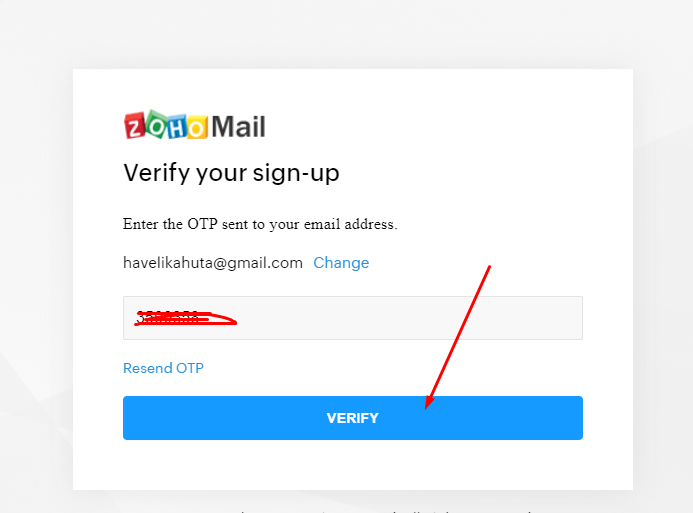
Once you have provided all the required information, Zoho will send an OTP to your account for the final verification. Copy the OTP and paste it into Zoho.
Once you have followed all these steps, you will see the dashboard of your Zoho account. Here you can see two options one is to Add an existing domain and the other is Buy a new domain.
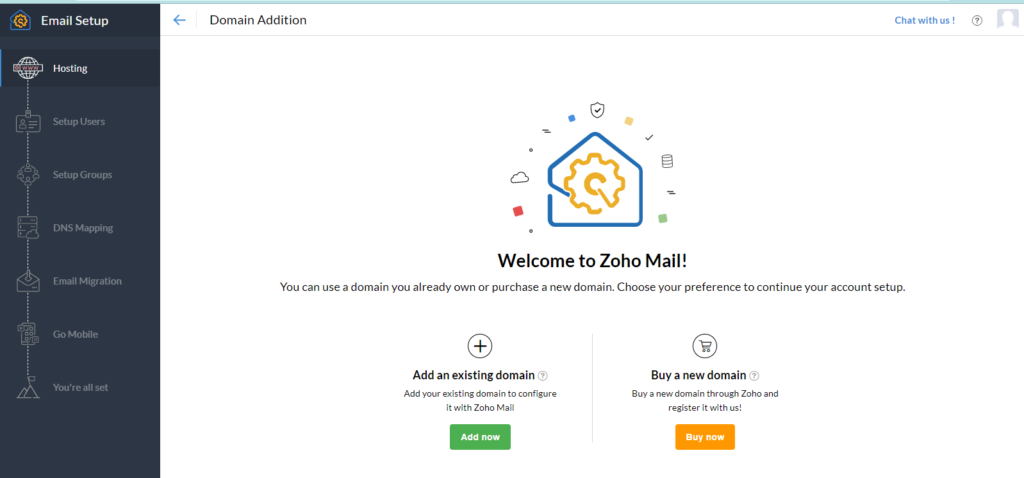
If you already own a domain, then you can use that, if not, you can buy any domain from here directly.
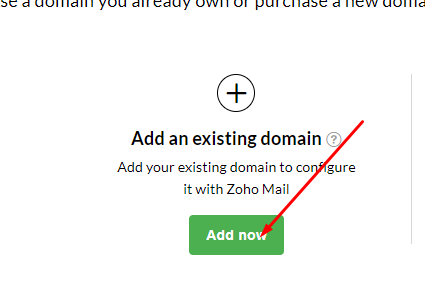
As we are also going to use the existing domain for this article. To do so click on the Add Now button below the Existing domain option.
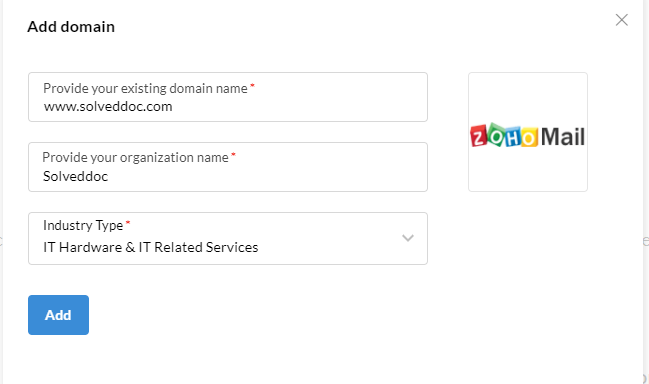
On clicking this button a pop up will appear that asks for the domain information
- Domain (Your domain name)
- Organization (any name for your organization)
- Industry (Which type of business is yours)
Now you can see the dashboard to begin the verification process. Click on the Add button to complete the Organization email setup.
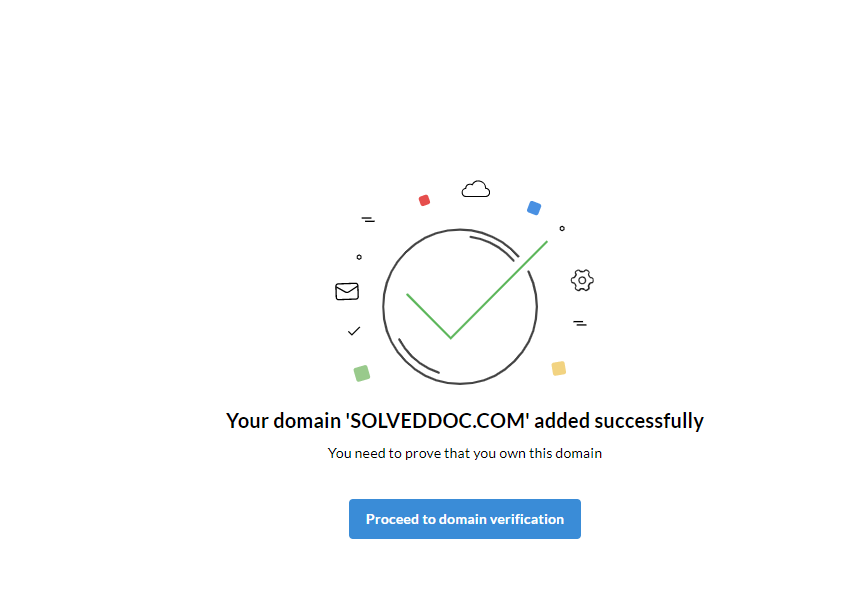
Click on the Proceed to domain verification and move forward to domain verification.
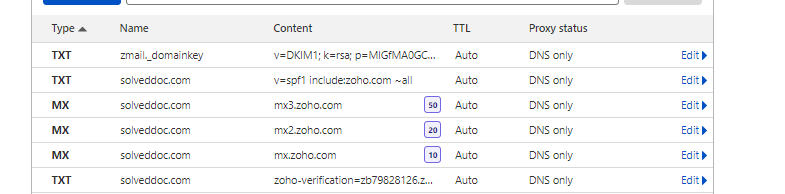
For the verification, Zoho gives you a TXT record that you need to add to the DNS manager.
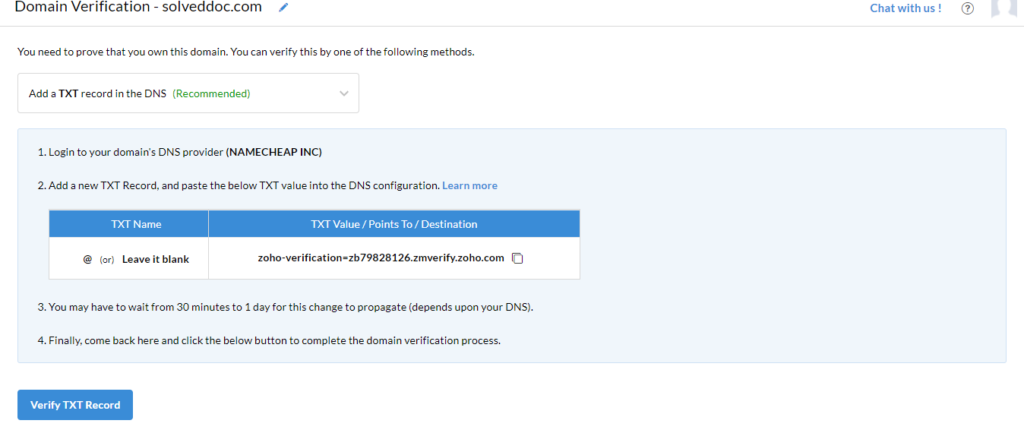
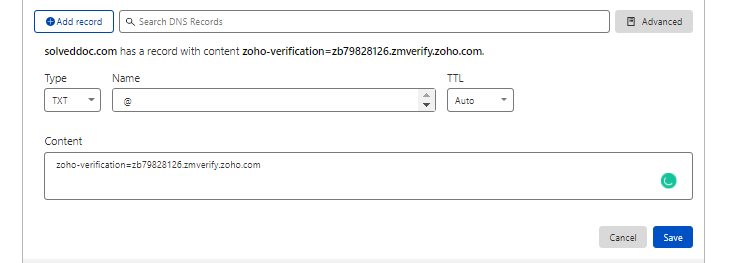
Add the TXT record in Cloudflare like this.
After adding this click on the Verify and you can see that your domain is verified.
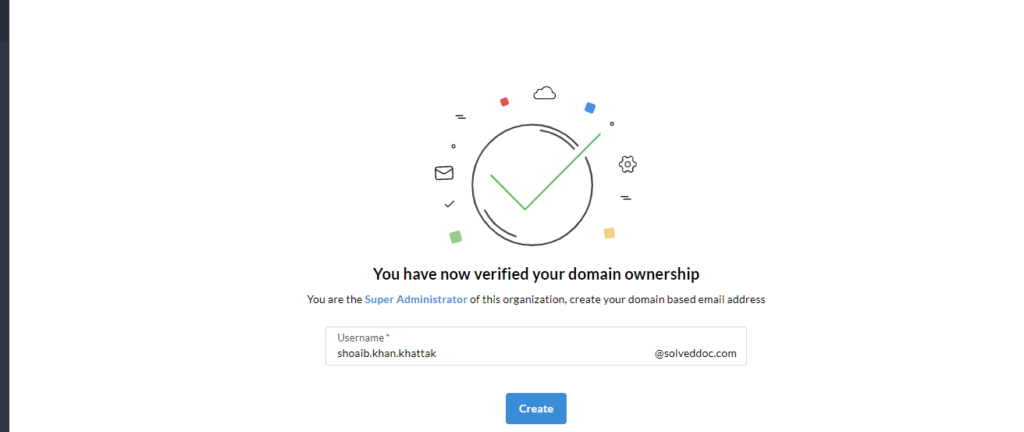
Once verification is done, we will create our first email account in Zoho.
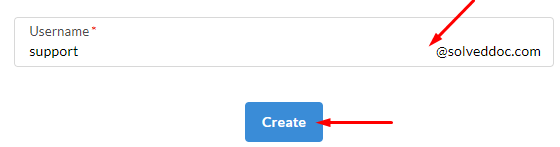
You can see your email is created here

You can add more users here also but if you want you can do it any time.
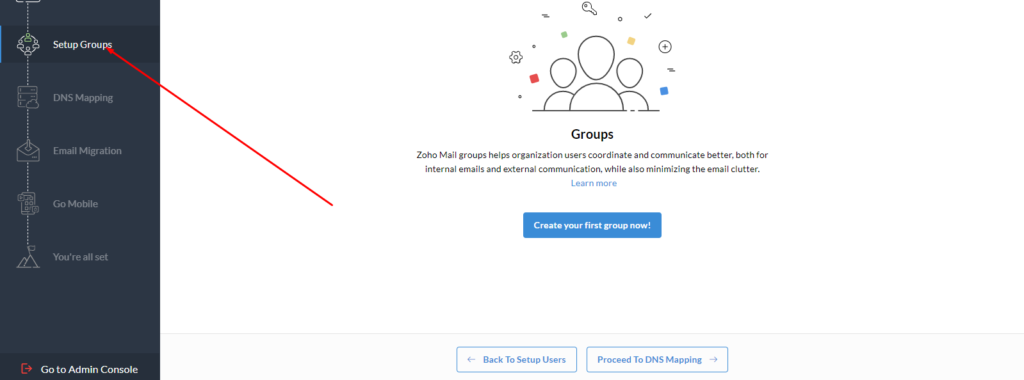
The next one is the Group tab you can create any group, for now, I skipped this.
Now we need to configure some MX records on Cloudflare so that email receiving also works on Zoho.
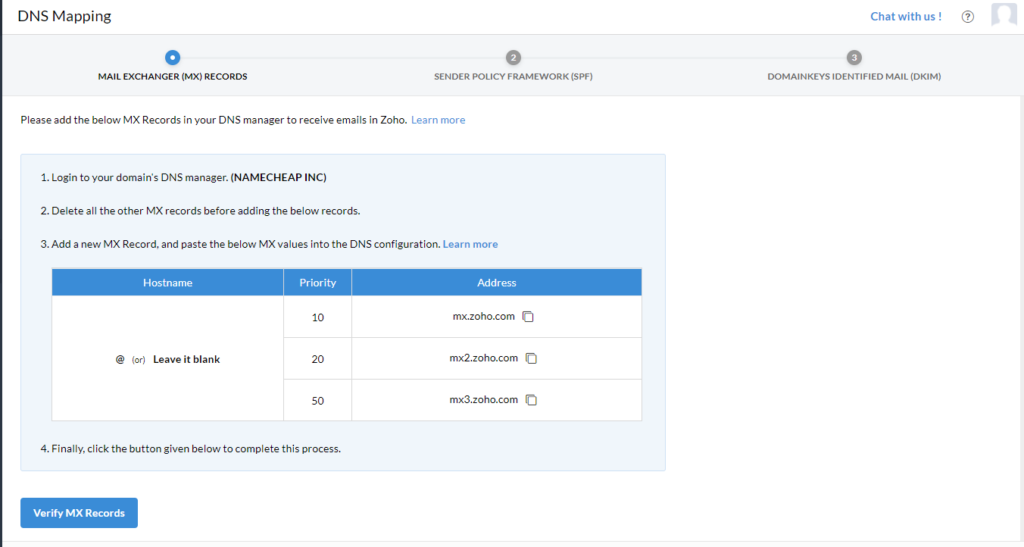
Copy these records and add them to your Cloudflare account where DNS is managed.

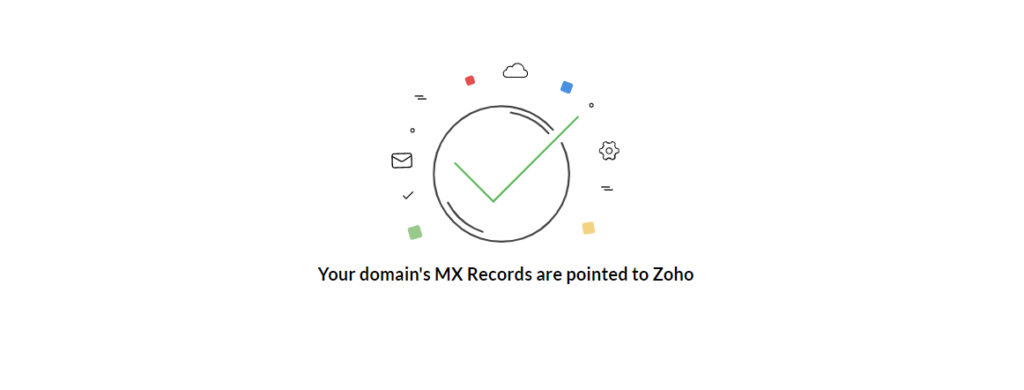
After adding MX records click on the verify MX button and you can see records are verified.
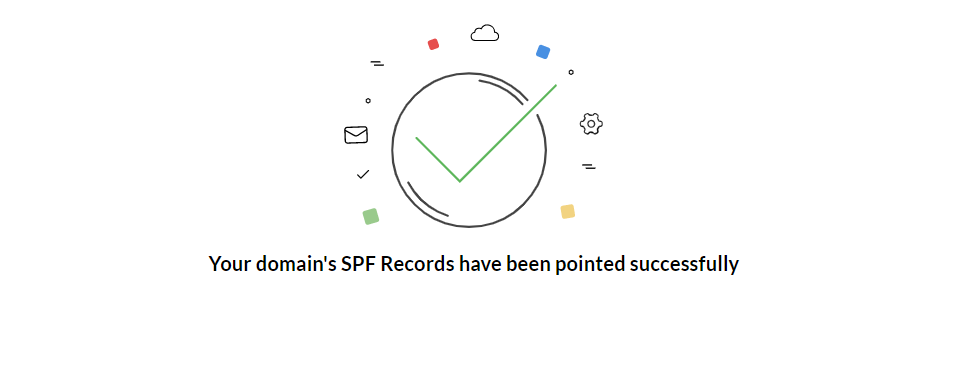
The next step is to verify SPF records. Zoho will give you an SPF record, you can add it as a TXT record in Cloudflare.
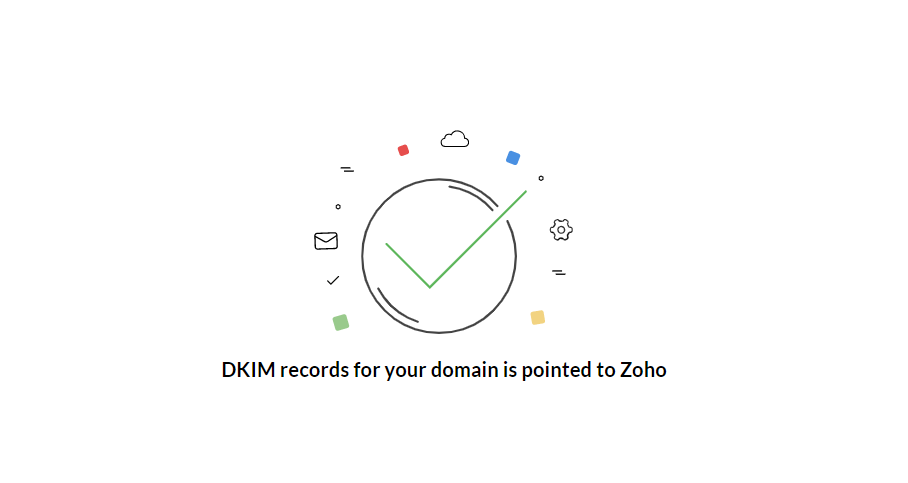
Now you have to verify the DKIM records. Similarly, Zoho will give you DKIM records which you can add a TXT record in Cloudflare
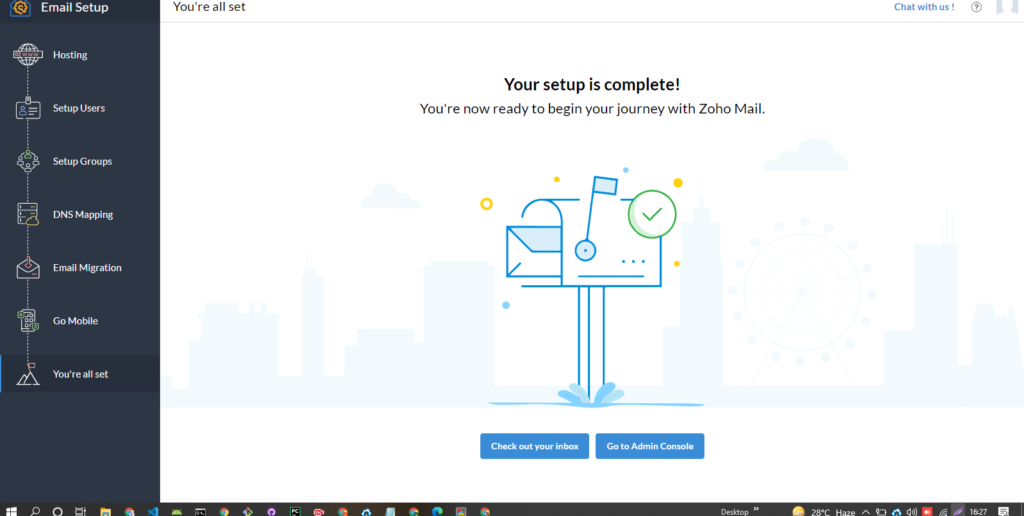
In the next step, if you want to migrate your email from somewhere you can do that too.

Your set up is now complete, you can either go to your email inbox (which you setup above) or go to Admin Console to add more users etc.
In the end, all records look like this.